
Warning: If you are not mechanically inclined or do not have the appropriate tools and/or appropriate safety equipment, please do not attempt this. I will not be held responsible if your GT-R damages you.
Step 1: Buy Necessary Items:
You will need:
- 6 qt (car takes 5 1/4 to 5 3/4qt or 5.5L) of Mobil 1 Synthetic 0W40 Engine Oil. I picked up mine at Checker Auto for $6.60 per qt.
- 1x Nissan Engine Oil Filter Part # 15208-9E01A(This filter is made in Mexico and supersedes 15208-9E000 that had a cardboard backing inside and was Made in China), that ranges anywhere from $6 to $8. I prefer using the OEM Nissan one to ensure warranty, and also because it contains the relief valve inside.
- 1x drain plug crush washer part # 11026-01M02

Step 2: Gather Tools
You will need:
- 10mm socket (better if magnetic)
- 12mm socket (better if magnetic)
- 14mm socket or 14mm wrench
- Appropriate socket drive, preferably ratcheting
- 30mm socket extension
- 100mm socket extension
- Short flathead screwdriver
- Standard Nissan Oil filter Wrench
- Torque Wrench (not necessary)
- Oil drain pan
- Wipes or rags
- Low clearance hydraulic jack
- 1x Jack Stand (up to 1.5 Ton)
- Funnel
- Absolutely essential – Magnetic Pickup Tool


Step 3: Prep Vehicle
- Park on a level surface.
- If not already warm, warm Engine to normal operating temperature, then rev. it a few times
Step 4: Jacking Up
The jack up points on the GT-R look like the picture below and run along the edge of the body just behind the side skirts. There are a total of 4, two on each side.

The position of the front engine jack point is just behind the oil drain cover and the rear is the silver nub that is underneath the transmission. The front jack point requires a very low and long floor jack. Since I did not have that I used my floor jack about a foot behind the driver’s side jack point.
You can also use the rear jacking point and get it high enough to put a jack stand on the front jack point.
Place the floor jack just behind the side skirt up against the plastic and it is safe to lift the GT-R as it will not damage the plastic. Place jack here:
You can also use the rear jacking point and get it high enough to put a jack stand on the front jack point.
Place the floor jack just behind the side skirt up against the plastic and it is safe to lift the GT-R as it will not damage the plastic. Place jack here:

Once lifted, place a jack stand on the designated jack point. Release jack and let the car rest on the jack stand immediately.
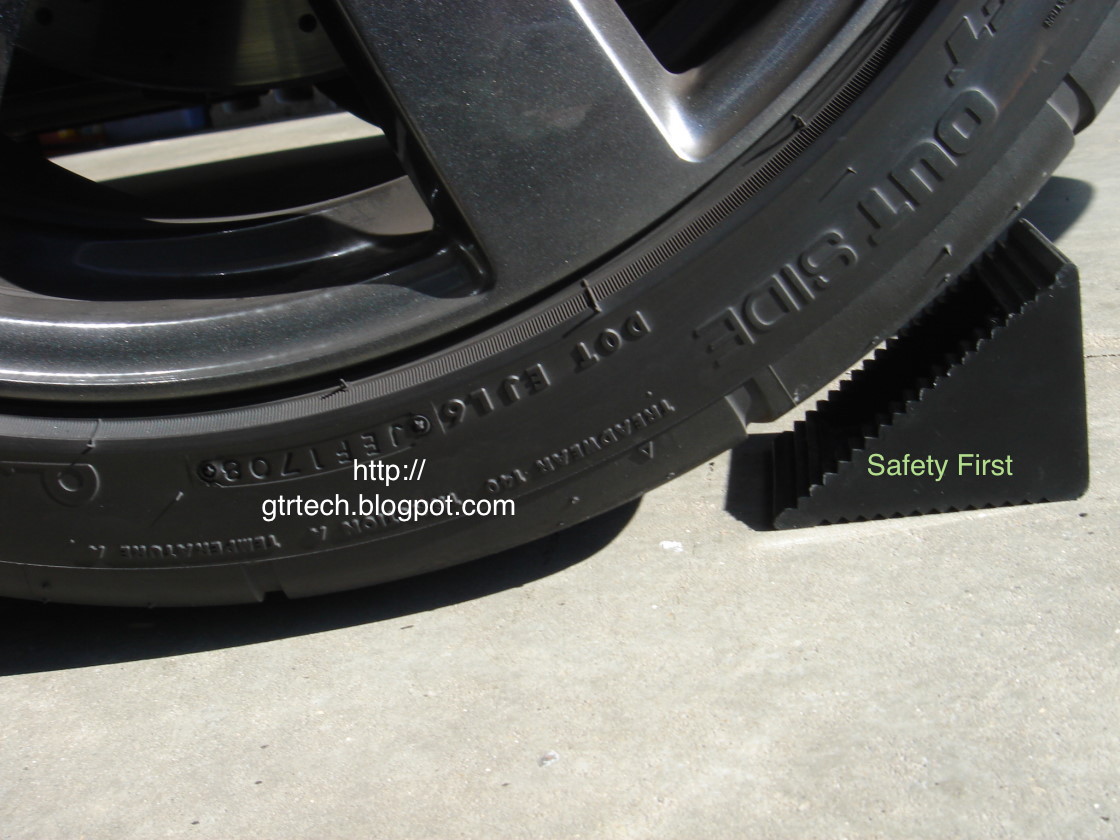
This is where you realize that the GT-R is low, really low. Even with the jack stand at its lowest setting, both the drivers side wheels were off the ground. To ensure safety, I did not lift the passenger’s side of the vehicle as that would get the entire car off the ground on just 2 jack stands. That is not safe. DO NOT DO THAT!
The plus side to lifting it from the driver’s side only is that the tilt helps the oil flow out as the drain plug is located on the right side of the oil pan.
Step 5a: Removing the front lip.
To remove the front lip, you will need to remove the following :
Remove 10 plastic fasteners, 5 from each side of the back of the front lip using the flat head screwdriver.

Remove the plastic grommet covers using a flat head screw driver, do not attempt to remove the small dark aluminum fasteners, those are rivets that form the overall lip piece. In all there should be 12 grommets.
Using the 10mm socket and 100mm extension reach inside the each hole and unscrew each bolt. Start
from the front center and work to each end. The last screws are hidden underneath the wheel well covers.

Lastly remove the 2x 10 mm screws on the back and the 2x 12mm screws near the front. The lip should now slide out down and forward.
This is where the magnetic pickup tool comes in handy. If you don’t have a perfectly steady hand and you drop a bolt or two inside the lip, don’t stress out, fish it out with the tool. Just don’t drop any while screwing them back otherwise it’s off with the lip again.
Step 5b: Remove Bottom Engine Cover
Remove all 8 screws (red) and 6 plastic (yellow) fasteners from the engine bottom cover. Then remove the cover by pushing away rest of the coverings away. Notice the front jack point, behind the oil logo cover, how inappropriate. Ugh!

Step 6:
By now, the engine may have cooled down, especially if this is the first time, so go back and start it up again to warm it up.
Step 7:
Remove the engine oil filler cap.

Place the oil drain pan underneath the engine, and unscrew the 14mm bolt using a wrench and drain the engine oil. If you need to capture oil for testing, do that mid-stream. While the oil is draining, clean the bolt and remove the old crush washer and install the new washer, note the side the notch on the crush washer is, closer to the head.

Remove the oil filter and drain the rest of the oil.

Step 8:
After the oil has drained (about 20 minutes), wipe the area around the filter port well, do not use any cleaning agents.
Wet the gasket of the new oil filter with a film of clean engine oil. Install the oil filter. Follow install instruction on the filter. After the filter makes contact turn it 2/3 of a turn to get a good fit. Do not over tighten.

The oil will not completely stop dripping, so go ahead and install the 14 mm drain plug back in. Tighten to 35Nm torque. Clean up.
Wet the gasket of the new oil filter with a film of clean engine oil. Install the oil filter. Follow install instruction on the filter. After the filter makes contact turn it 2/3 of a turn to get a good fit. Do not over tighten.
The oil will not completely stop dripping, so go ahead and install the 14 mm drain plug back in. Tighten to 35Nm torque. Clean up.
First fill only 5 US qt oil using a funnel.

Do not remove dip stick while filling oil.
Start engine to warm up, check for leaks around filter and drain bolt. Stop Engine. Reset the maintenance counters.
Wait for about 10 minutes while the car is flat and then check the dipstick again. The proper level for oil recommended by Nissan is not to the F mark of the dip stick rather about 5mm below the full mark. That is why even though the maintenance manual states 5 3/4 qt with oil filter change, I have rarely ever needed more than 5 and 1/8 to 1/4qt it usually hits the proper mark.
Never fill oil with the dipstick out. After topping off wait another 5-10 minutes before checking. It is a lot better to have patience on this process rather than having to drain oil after the fact which is impossible to do easily. If you have had a bad GT-R Tech that has been putting all 6 qt in...shame on that and do not put more than the recommended amount.
Installation of parts is reverse of removal above. The holes in which the 10mm bolts go that hold the lip are a little difficult to guide but a magnetic socket helps here.
Dispose of oil as per local laws. Usually an oil change place accepts used oil for FREE in containers and this includes local Walmart.
Go out and enjoy your GT-R!
I find that sticking with Mobil1 0W40 has been easy and cheap, I change it every 3000miles or 6 months and after a track day. There are better oils out there, but I find Mobil 1 convienient.
I find that sticking with Mobil1 0W40 has been easy and cheap, I change it every 3000miles or 6 months and after a track day. There are better oils out there, but I find Mobil 1 convienient.